
Frustrated man (Image by Gerd Altmann from Pixabay)
This blog post was originally published at Xailient’s website. It is reprinted here with the permission of Xailient.
Have you ever been so excited after reading a how-to tutorial or a github readme file, only to discover after following it through that it is not really as simple as they say it would be?
I have had countless such instances and it is a rare moment that I find that some solution that I downloaded or a tutorial that I followed simply worked. That moment though! If you resonate with this and have stories of your own to share, I’m happy to hear about it.
For now, I will share my struggle story of running object detection on a Raspberry Pi.
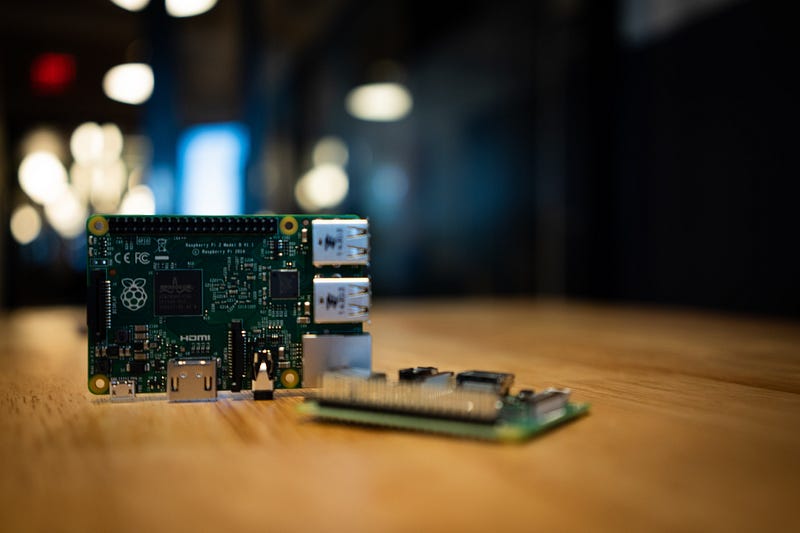
I love to try out new technologies, and see it working and it was a only year ago, that I was introduced to Raspberry Pi, a small, affordable device, where you can attach cameras and other sensors, and deploy your python code and see it working instantly. How cool is that? I immediately ordered one for myself, with a pi camera, a Raspberry Pi Sense HAT and with a little casing from Raspberry Pi Australia’s website and couldn’t wait to play with it.
When I got the Raspberry Pi 3 Ultimate Kit the following week, I had my object detection python script ready to copy and run it in the Pi. I opened package, took out the Pi and the Pi camera, assembled it, put it into the black case, and connected it to the power source. I did not have a mouse, or a keyboard, I had a TV and an HDMI cable that came with in the Raspberry Pi kit, and so my first struggle was to connect it to the internet. My second one was to copy my python script into the Pi. Couple of hours of research and trying different things that people had to say online, got my Pi connected to the internet and with VNC viewer, I was now able to remotely connect to it from my laptop and copy over my python script.
Pre-trained AI models available to download for free here
If you are struggling to connect your Pi to the internet using wifi and remotely access it, use this tutorial “Directly Connecting to your Raspberry Pi”, it is very helpful, simple to follow and more importantly, it works!
Raspberry Pis (Photo by Jeff Loucks on Unsplash)
I would have jumped up and down if my program would have worked right away, probably would have shouted from my balcony, telling everyone that it worked. Sadly, it didn’t work. It was complaining about missing libraries, and even tackling one after the other, it never seemed to stop. Somehow I even ended up corrupting pip install in the Pi. I think this is what a lot of other developers face as well, missing dependency, version not supported, incompatible platform, and the list is never ending.

Error (Image by bartekhdd from Pixabay
Wouldn’t it be nice if there was a script or a program that I could run and it would install all the required libraries and dependencies for me.
Does it have to be this hard?
The next day, I managed to finally get the object detection code working on a Raspberry Pi that could detect different objects and draw a bounding box around it. I used YOLOv3, which was state-of-the art object detection model back then, extremely fast and accurate. I was happy. Yeyy! Finally!
I noticed that the output video, with the bounding box was lagging, like when you have a bad internet connectivity and you are trying to watch a video on YouTube. It was bad! I was excited that it worked but at the same time was kind of disappointed that the fastest object detection was not fast enough on the Pi. I mean, it would not even make a good demo to show it to my parents or friends.
So my next struggle was to make it run faster on the Pi.
After tons of research, I found out that I was not the only one struggling with it and that it was not an easy problem to solve. In fact, it was one of the challenges that most developers were talking about who want to run object detection on an edge device.
“… we were able to get up to 0.9 frames per second, which is not fast enough to constitute real-time detection. That said, given the limited processing power of the Pi, 0.9 frames per second is still reasonable for some applications.” — Computer vision expert and blogger Adrian Rosebrock, mentions in one of his blogs.
There were some models like SqueezeNet and MobileNetSSD that developers were talking about that were optimised for Raspberry Pi, and could get somewhat better results, but again, there was a learning curve for that. I was so frustrated that I had to go through so much trouble to do a little experiment that I wanted. If speed was the problem, how can I expect to use this for a real-time solution? There may be cases where it wouldn’t have to process frames in real-time, 1 frame every 10–20 seconds were acceptable, but what about solutions that needed to detect objects more often.
Eventually, I ended up using the darknet implementation of YOLOv3 with a pre-trained Tiny YOLOv3 model. The inference speed was better than what I had, but I was not satisfied with the overall performance of the solution. I had a lot of questions and concerns.
Why is it taking up so much space? I cannot run any other code in parallel.
Why is the Pi heating up so much? It feels like it will blow up any second.
My Pi freezes so often, and I have to restart it. I have no idea why its happening or how to fix it.
Why the h*ll is this Pi restarting again and again?
My search for a faster object detection that performed better than YOLOv3 on a Raspberry Pi continued up until the day I found out that Xailient, a startup in Sydney, had out-performed YOLOv3 and Tiny YOLOv3 and had set a new benchmark. It was great news for me and I knew that, somehow I had to get my hands-on their object detection model and try it out. Three months later, I was here at Xailient (which is a story for another time), experimenting with the current state-of-the-art real-time object detection on the Pi.
Pre-trained AI models available to download for free here!
Sabina Pokhrel
Customer Success AI Engineer, Xailient