This blog post was originally published at NVIDIA’s website. It is reprinted here with the permission of NVIDIA.
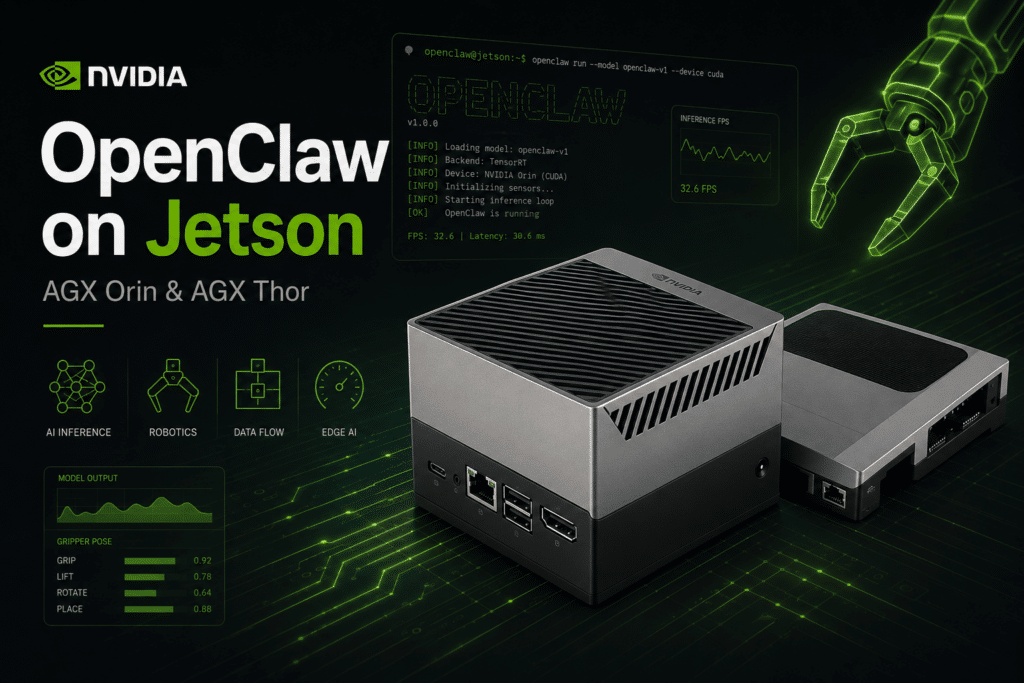
OpenClaw also works on Jetson devices. You can run it on a Jetson AGX Orin or AGX Thor, but even if you have a Jetson Orin Nano (8GB), you can still run it locally with the right setup.
In this guide we show two paths. If you have a Jetson Orin Nano, follow Path A (yesterday’s post), where the constraints are tighter and a lighter stack makes more sense. If you have a Jetson AGX Orin or AGX Thor, follow Path B (today’s post), where vLLM and larger tool-calling models are a better fit.
| Path | Target hardware | Inference engine | Recommended model style |
|---|---|---|---|
| Path A | Jetson Orin Nano (8GB) / Orin Nano Super | Ollama | Qwen 3.5 2B |
| Path B | Jetson AGX Orin / Jetson AGX Thor | vLLM | Larger tool-calling models like Nemotron 3 Nano 30B-A3B |
Both paths run fully locally, and in both cases you end up with a working OpenClaw agent. The main difference is how the model is served and what type of hardware you have.
A note on security: OpenClaw can take real actions on your device. It can read files, execute commands, and browse the web. In both paths here the gateway stays bound to localhost. On the smaller Orin Nano path we also use
tools.profile: "minimal"to keep prompt overhead and attack surface lower, because smaller local models tend to be more sensitive to prompt injection than the larger AGX-class setups.
Path B: Jetson AGX Orin / Jetson AGX Thor
This is the larger Jetson path: serve a local model with vLLM in Docker, then point OpenClaw at it through the onboarding wizard.
Unlike the Nano route above, there isn’t really a single “fast path” one-liner here. On AGX-class Jetsons the model choice matters more, so this path stays manual: serve the model with vLLM, then point OpenClaw at it through the onboarding flow.
Step B1: Serve a Local Model with vLLM
Before setting up OpenClaw, we need to host a model locally. For this path we’ll use vLLM as the serving engine.
Any model should work here as long as it’s capable of tool calling. Tool calling is very important for OpenClaw. It’s how the agent takes actions on your behalf.
Tip: In our testing, Mixture of Experts (MoE) models work exceptionally well with OpenClaw, models like Nemotron 3 Nano 30B-A3B, Qwen 3.5 35B-A3B, and GLM 4.7 Flash.
Export your Hugging Face token
Some models require you to accept a license agreement on Hugging Face before using them. Export your token so vLLM can download the model:
export HF_TOKEN=your_huggingface_token_hereServe the model
For this path, we’ll go with Nemotron 3 Nano 30B-A3B. Select your device below:
sudo docker run -it --rm --pull always \
  --runtime=nvidia --network host \
  -e HF_TOKEN=$HF_TOKEN \
  -e VLLM_USE_FLASHINFER_MOE_FP4=1 \
  -e VLLM_FLASHINFER_MOE_BACKEND=throughput \
  -v $HOME/.cache/huggingface:/data/models/huggingface \
  ghcr.io/nvidia-ai-iot/vllm:latest-jetson-thor \
  bash -c "wget -q -O /tmp/nano_v3_reasoning_parser.py \
  --header=\"Authorization: Bearer \$HF_TOKEN\" \
  https://huggingface.co/nvidia/NVIDIA-Nemotron-3-Nano-30B-A3B-NVFP4/resolve/main/nano_v3_reasoning_parser.py \
  && vllm serve nvidia/NVIDIA-Nemotron-3-Nano-30B-A3B-NVFP4 \
  --gpu-memory-utilization 0.8 \
  --trust-remote-code \
  --enable-auto-tool-choice \
  --tool-call-parser qwen3_coder \
  --reasoning-parser-plugin /tmp/nano_v3_reasoning_parser.py \
  --reasoning-parser nano_v3 \
  --kv-cache-dtype fp8"
AGX Orin
sudo docker run -it --rm --pull always \
  --runtime=nvidia --network host \
  -e HF_TOKEN=$HF_TOKEN \
  -e VLLM_USE_FLASHINFER_MOE_FP4=1 \
  -e VLLM_FLASHINFER_MOE_BACKEND=throughput \
  -v $HOME/.cache/huggingface:/data/models/huggingface \
  ghcr.io/nvidia-ai-iot/vllm:latest-jetson-orin \
  bash -c "wget -q -O /tmp/nano_v3_reasoning_parser.py \
  --header=\"Authorization: Bearer \$HF_TOKEN\" \
  https://huggingface.co/nvidia/NVIDIA-Nemotron-3-Nano-30B-A3B-NVFP4/resolve/main/nano_v3_reasoning_parser.py \
  && vllm serve stelterlab/NVIDIA-Nemotron-3-Nano-30B-A3B-AWQ \
  --gpu-memory-utilization 0.8 \
  --trust-remote-code \
  --enable-auto-tool-choice \
  --tool-call-parser qwen3_coder \
  --reasoning-parser-plugin /tmp/nano_v3_reasoning_parser.py \
  --reasoning-parser nano_v3 \
  --kv-cache-dtype fp8"
Tip: These models need a lot of memory. Before serving, make sure you don’t have other processes eating up GPU memory.
sudo sysctl -w vm.drop_caches=3
Verify the model is serving:
curl -s http://127.0.0.1:8000/v1/modelsOnce you see your model listed, you’re ready to move on.
Step B2: Install Node.js 22+
curl -fsSL https://deb.nodesource.com/setup_22.x | sudo -E bash -
sudo apt install -y nodejs
node --version
Step B3: Install OpenClaw
sudo npm install -g openclaw@latest
openclaw --version
Step B4: Run the Onboarding Wizard
OpenClaw has an interactive wizard that sets up model provider, gateway, WhatsApp, workspace, and hooks:
openclaw onboard --skip-daemonWhy
--skip-daemon? The systemd daemon installer has a known issue on headless or SSH sessions, so on this path it’s cleaner to start the gateway manually afterwards.
When the wizard asks for the model provider, choose vLLM and configure:
| Setting | Value |
|---|---|
| Base URL | http://127.0.0.1:8000/v1 |
| API key | Any random string, for example vllm-local |
| Model name | The exact model name vLLM is serving |
When it asks for the channel, choose WhatsApp if you want the phone workflow:
- Open WhatsApp > Settings > Linked Devices
- Tap Link a Device
- Scan the QR code
For the rest of the wizard:
- Skills: skip them for now unless you know you want one
- Cloud API keys: say no if you want to stay fully local
- Hooks: selecting them all is reasonable
- Bot hatching: “I’ll do this later” is fine if you’re going through WhatsApp
Step B5: Start the Gateway
nohup openclaw gateway run > /tmp/openclaw-gateway.log 2>&1 &Then check the status:
openclaw channels status --probeExpected output:
Gateway reachable.Step B6: Talk to Your Agent Through WhatsApp
Open your own chat in WhatsApp (“Message yourself”) and send something. The first message can take a bit as the model warms up, but after that it should behave like a fully local AI agent running on your Jetson.
Useful WhatsApp commands:
| Command | What it does |
|---|---|
/status |
Show session info, token usage, and context size |
/help |
List all available commands |
/new |
Start a fresh session |
/stop |
Stop the current agent run |
/model |
Switch models |
Gateway Reference (AGX Orin / Thor path)
# Start
nohup openclaw gateway run > /tmp/openclaw-gateway.log 2>&1 &

# Stop
pkill -f "openclaw gateway run"

# Restart
pkill -f "openclaw gateway run"; sleep 2
nohup openclaw gateway run > /tmp/openclaw-gateway.log 2>&1 &

# Logs
openclaw logs --follow

# Probe
openclaw channels status --probe
Troubleshooting (AGX Orin / Thor path)
| Problem | Fix |
|---|---|
openclaw: command not found |
sudo npm install -g openclaw@latest |
| vLLM model not detected | Check curl http://127.0.0.1:8000/v1/models and make sure vLLM is running |
| WhatsApp QR expired | Re-run openclaw channels login --channel whatsapp |
| WhatsApp shows “disconnected” | Restart the gateway |
| Agent not responding | Check openclaw logs --follow; send /new in WhatsApp |
| Gateway won’t start | Run openclaw doctor |
| Port already in use | pkill -f "openclaw gateway run" and try again |
OpenClaw on Jetson is a practical way to build a fully local AI assistant that can run on your own hardware, stay bound to localhost, and avoid depending on cloud APIs or ongoing usage costs. Whether you are working with the tighter constraints of an Orin Nano or the extra headroom of an AGX Orin or AGX Thor, the goal is the same: a capable local agent, running on Jetson, with the path adapted to the hardware you actually have.
The AGX Orin / AGX Thor path was created by Khalil Ben Khaled.