
This blog post was originally published at Xailient’s website. It is reprinted here with the permission of Xailient.
In this post, we will cover the details of annotating images using the MakeSense annotation tool.
Imagine you just got an exciting project where you have to build a program to detect if a door is open or closed using an image. You have collected a few hundred images of open doors and closed doors. Now, you need to annotate and label each door in the images so that you can train a machine learning model to detect open or closed doors.
Image annotation is an important step in creating machine learning models for tasks such as object-detection, image classification and image segmentation.
You search for annotation tools on Google and find more than a few options, so now you are confused about which tool to use to annotate your images. If this is you, I will make your decision-making process a bit easier by going through one of the open-source annotation tools step-by-step.
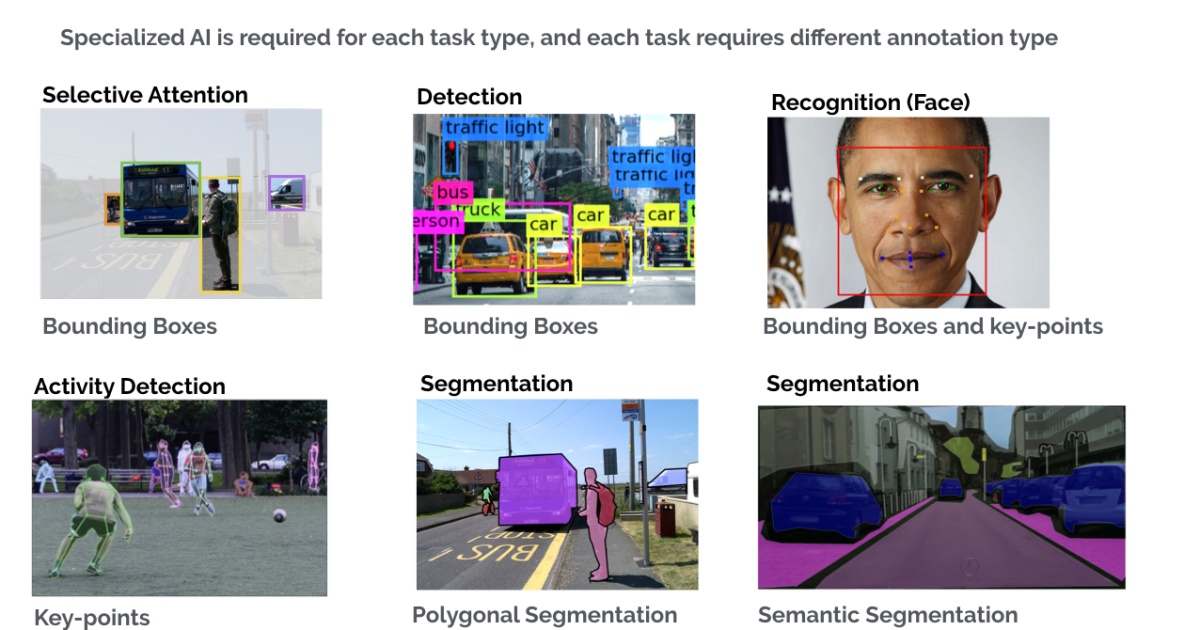
Different computer vision tasks with annotation types for each
If you want to know more about different image annotation types in detail: bounding boxes, polygonal segmentation, semantic segmentation, 3D cuboids, key-points and landmark, and lines and splines, then read more here.
Let’s jump into the open-source online annotation tool — MakeSense.
MakeSense is an open-source and free-to-use annotation tool under GPLv3 license. It does not require any advanced installations, it just needs a web browser to run it.
Benefits:
- Open-source
- Free
- Web-based
The user interface is easy to use. You simply upload the images you want to annotate, annotate the images, and export the labels.
MakeSense supports multiple annotations: bounding box, polygon, and point annotation. You can export the labels in different formats including YOLO, VOC XML, VGG JSON, and CSV. As per the website, MakeSense does not store the images, because they don’t send them anywhere.
Here is a step-by-step guide to using the MakeSense annotation tool.
1. Go to www.makesense.ai
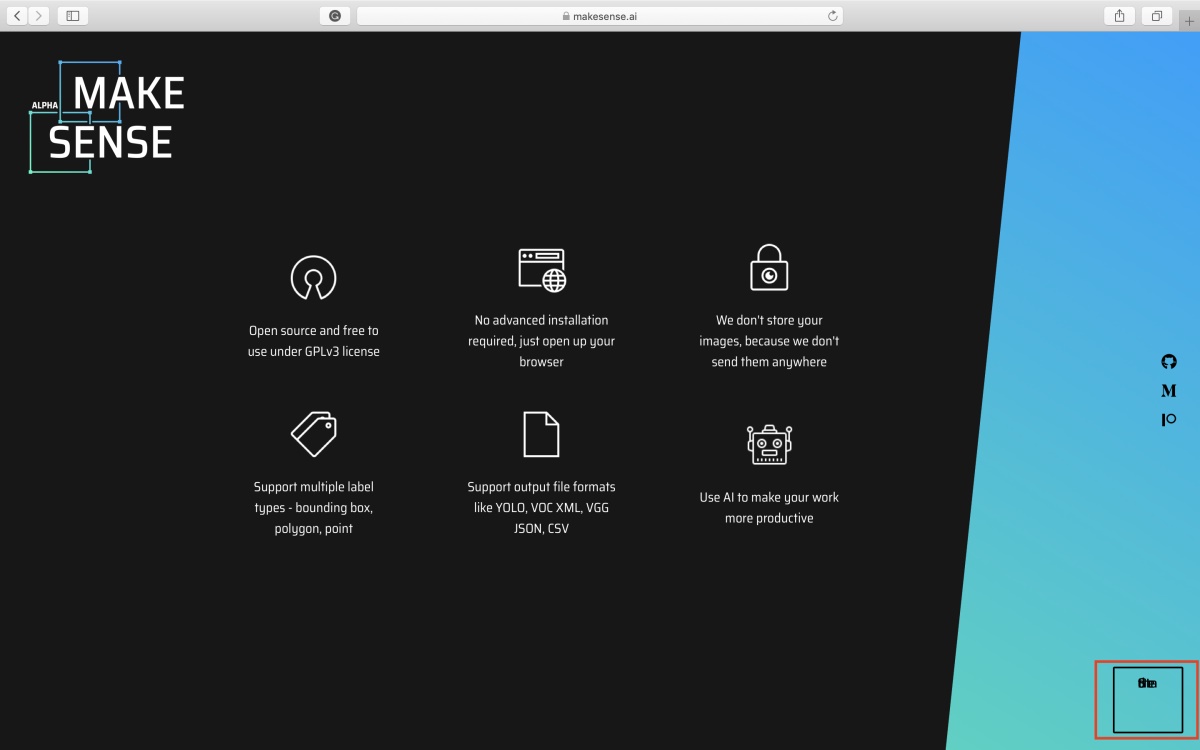
MakeSense homepage
2. Click the bottom-right box to go to the annotation page and you will see the following page where you can upload the images you want to annotate.
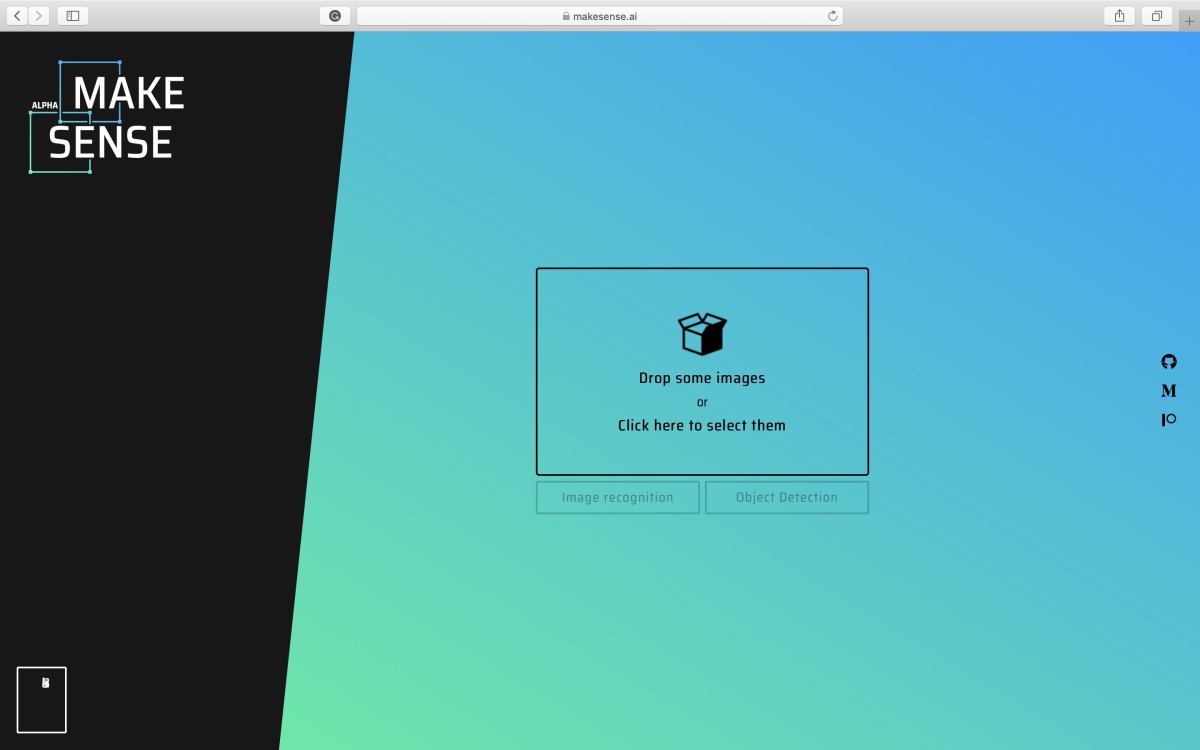
MakeSense image selection page
3. After selecting and uploading images, click on the “Object Detection” button.
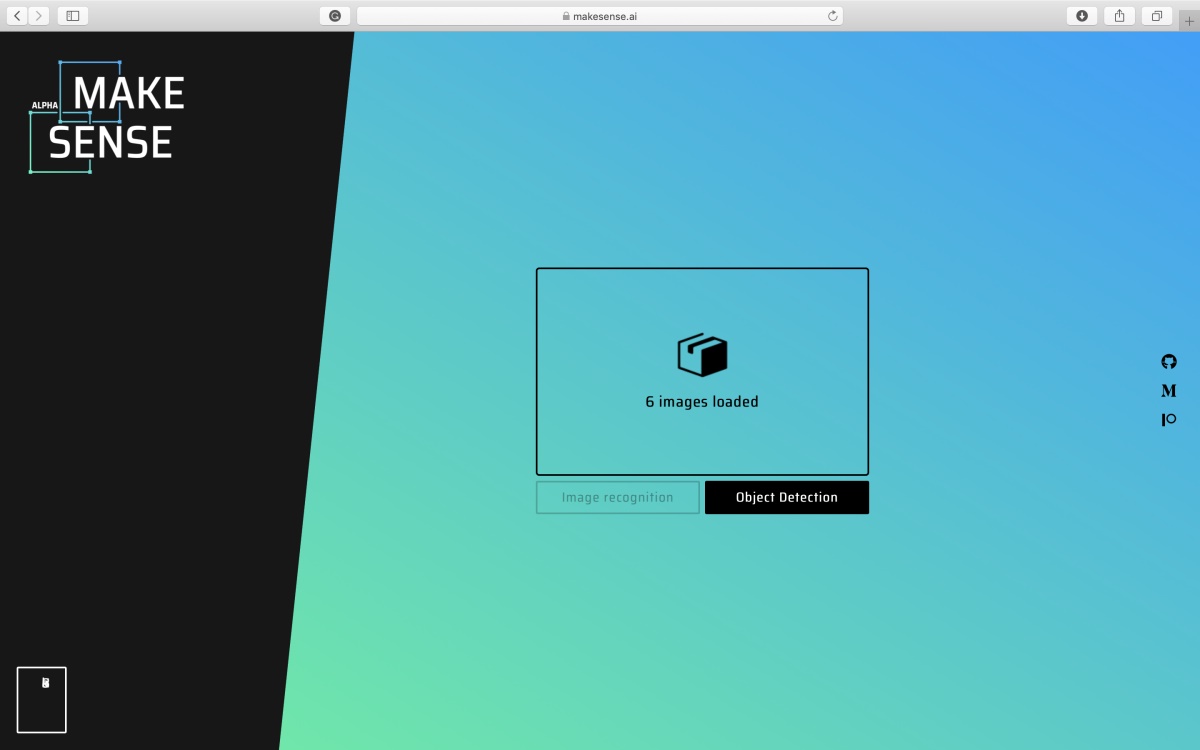
MakeSense upload images page
4. Since you do not have any labels loaded, you will be asked to create a label names list for your project.
To add a new label, click the + sign on the top left corner of the message box, and enter the label in the “Insert Label” text field. Repeat for all labels.
When you have added all labels, select “Start Project”.
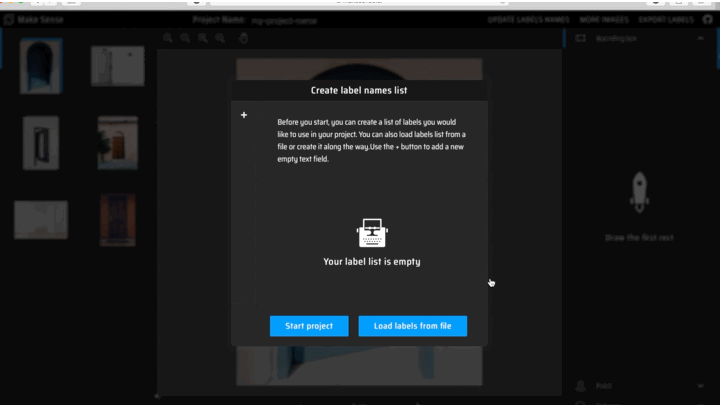
Create labels and start project
5. Here, you have an option to either use a pre-trained model to help you with the labeling or do the labeling all on your own. For this post, let’s go with the “I’m going on my own” option and do all the labeling manually.
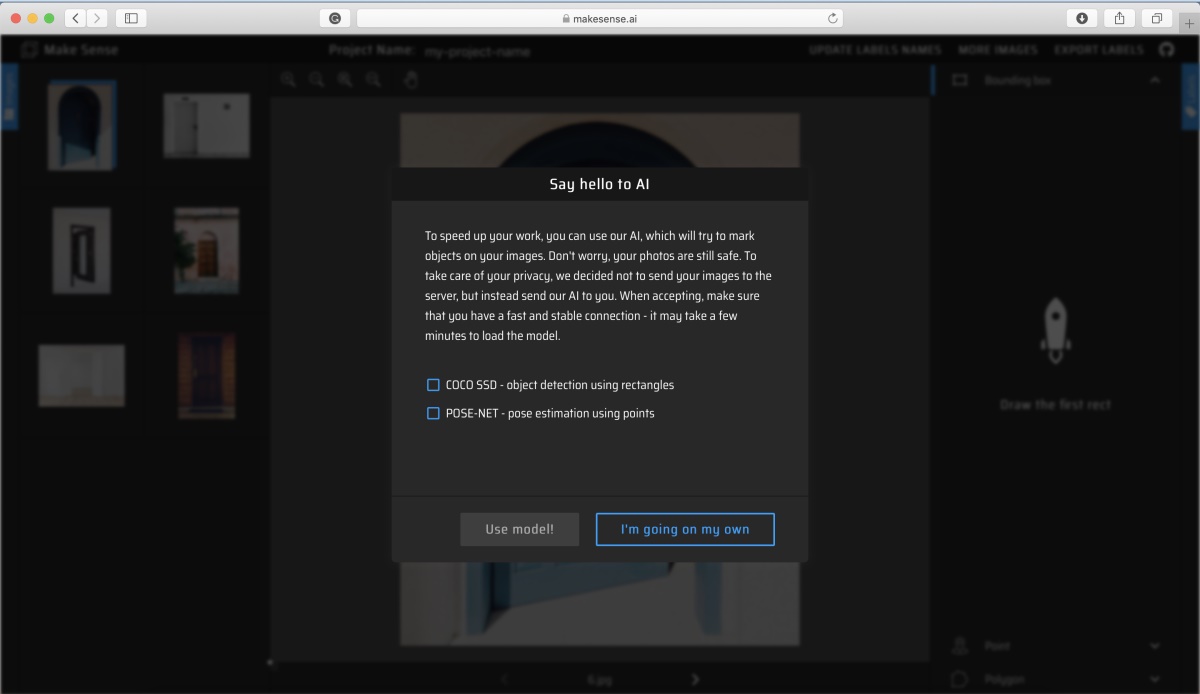
Choose manual annotation
6. You will see the uploaded images on the left column, the annotations on the right column, and the image currently selected for annotation in the middle column.
In the annotations column, you can select from different annotation types: Bounding Box, Point, and Polygon. For this post, let’s use bounding box annotation and annotate ‘Open Door’ and ‘Closed Door’ in the images.
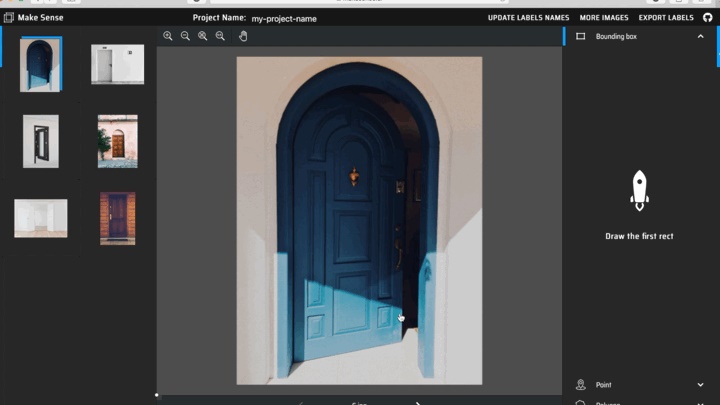
Annotate image
For annotating an object, simply hover over the object in the selected image, click and drag to create a rectangular box of the intended size.
After creating the bounding box, a new entry is added under the Bounding Box column on the right. Click to select the desired label for the object.
7. Repeat the annotation steps for all objects in all images.
8. When you have annotated all the images, you are ready to export your labels. To export, click on the “Export Labels” button on the top-right of the page, select your desired output format and click “Export”.
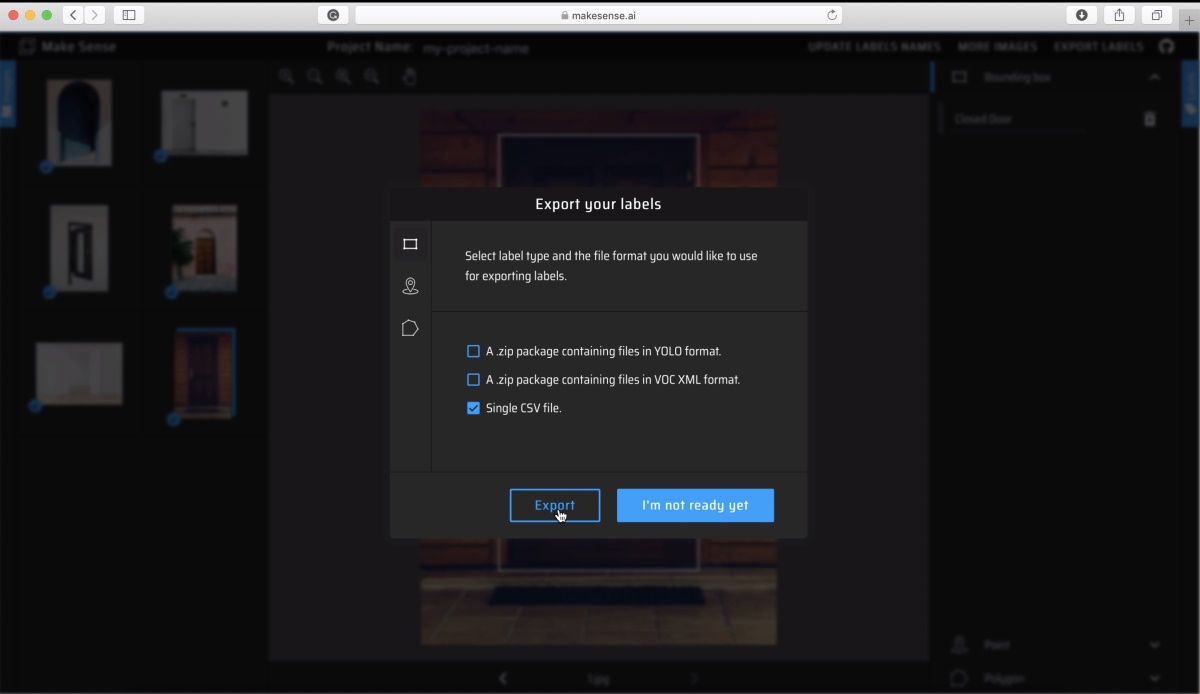
Export Label
With these simple steps, you have now annotated your dataset and are ready to train your machine learning model.
A few things you need to keep in mind when using this tool:
- MakeSense is an online web tool. That means you will need to load all your images to the web portal to annotate it.
- MakeSense does not provide an option to upload zip files. You will have to perform the upload by selecting all the images that you wish to annotate.
- MakeSense does not provide a way to save your annotation projects in between. That means, if you refresh your web browser, intentionally or by mistake, all your annotation progress is gone and you will have to start from the beginning (uploading all images).
- You cannot collaborate with your team to work on the same annotation project.
- You can use AI to help speed up your image annotation task. You can select for two options: COCO SSD object detection model for bounding-box annotation, or POSE-NET pose estimation for key-point annotation. Note that to use AI, you need to select this option before beginning the project. Once you opt not to use an AI model for help, you cannot change it.
Considering the above points, MakeSense is a good option to use when you have up to a few hundred images to annotate as in the open/closed door example. As no setup or installation is required, this tool can become very handy when you have a small dataset that you can label in one go.
You can upload the images for open doors, annotate them and export the labels. If one image contains two doors, and you use bounding-box annotation, on average, you can annotate 10 images in 1 minute. In an hour, you can annotate approximately 600 images using this tool.
If you have a large dataset, say 10,000 images, I would recommend looking at other offline annotation tools (if you are working alone), or online annotation tools (if you are working on a team), which have the option to pause and resume the annotation tasks. Another option is to outsource the image annotation task to other companies, who specialize in this.
In this post, we looked at how to annotate your image data using the open-source online annotation tool MakeSense.
Check-out this post for more details on creating a robust object detection model.
Sabina Pokhrel
Customer Success AI Engineer, Xailient