This blog post was originally published at NVIDIA’s website. It is reprinted here with the permission of NVIDIA.
Robots are typically equipped with cameras. When designing a digital twin simulation, it’s important to replicate its performance in a simulated environment accurately.
However, to make sure the simulation runs smoothly, it’s crucial to check the performance of the workstation that is running the simulation. In this blog post, we explore the steps to setting up and running a camera benchmark on your workstation on NVIDIA Isaac Sim.
Before starting, we explore how Isaac Sim is designed to add cameras and how to export the outputs for ROS 2.
NVIDIA Isaac Sim can simulate multiple types of sensors, starting from range sensors, like LIDAR, ultrasonic, generic range sensors, contact sensors, and IMU force and proximity sensors.
The camera sensor is the most advanced simulation that you can find in Isaac Sim and you can add this sensor quickly using the user interface.
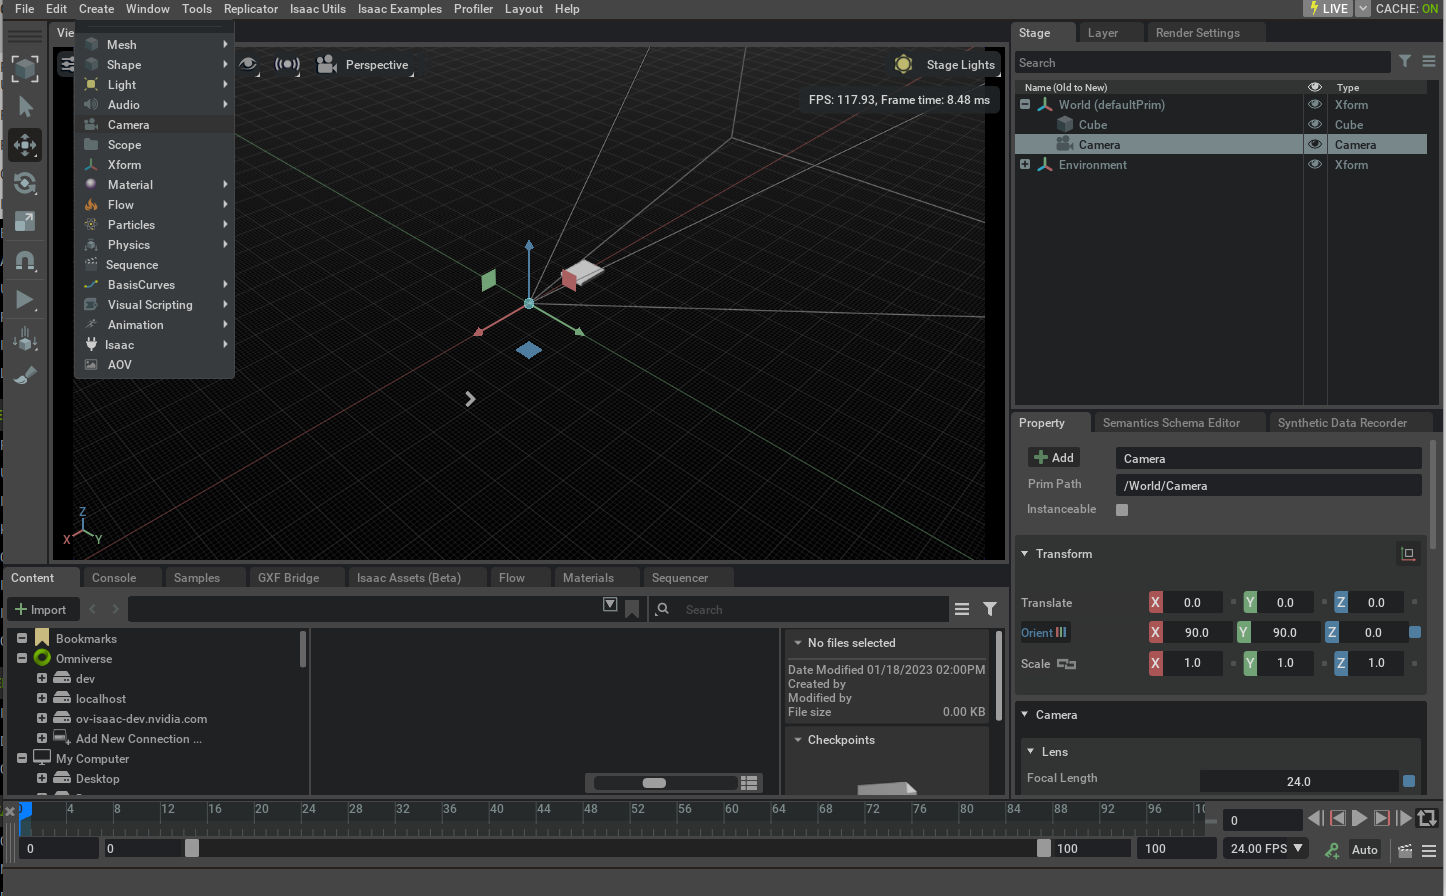
Figure 1. Example of adding a camera on NVIDIA Isaac Sim, selecting configuration and output
Also, you can use a Python script to load your camera or multiple cameras from a Python object, like in the following example.
camera = Camera(
    prim_path="/World/camera",
    position=np.array([0.0, 0.0, 25.0]),
    frequency=20,
    resolution=(256, 256),
    orientation=rot_utils.euler_angles_to_quats(np.array([0, 90, 0]), degrees=True),
)
For more details about the NVIDIA Isaac Sim camera, review our documentation.
Set up your demo
You’ll need a workstation with an NVIDIA RTX GPU and the most current version of NVIDIA Isaac Sim 2023.1.0 installed to use this benchmark. This demo is only compatible with Linux-based machines running Ubuntu 20.04 or Ubuntu 22.04.
This script doesn’t require the user interface to run Isaac Sim. It can be done with a terminal. The script will launch the simulator, load all the necessary cameras, and display the output in the terminal.
Installation and run
Clone the demo isaac_camera_benchmark:
git clone https://github.com/nvidia_iot/isaac_camera_benchmark.git
cd isaac_camera_benchmark
This repository contains all the scripts and files to run the demo on your screen, but before running the script, remember to download NVIDIA Isaac Sim.
For guidance, follow the instructions on NVIDIA Omniverse.
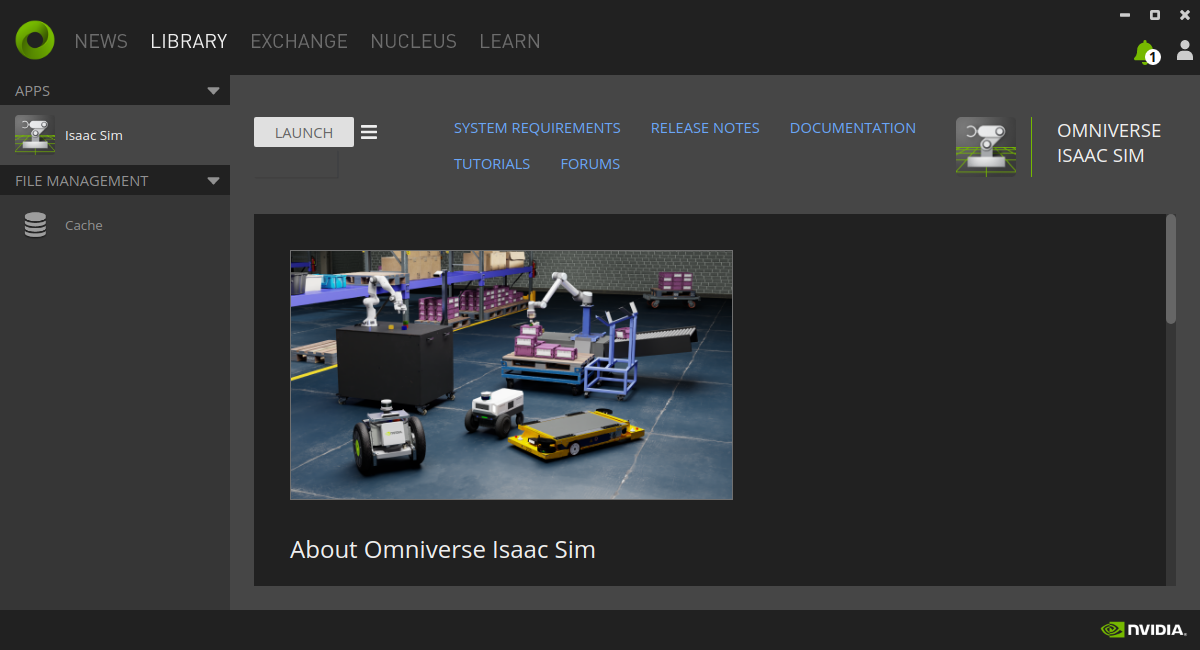
Figure 2. NVIDIA Omniverse, library page, and NVIDIA Isaac Sim download button
From this page, select NVIDIA Isaac Sim 2023.1.0 and download. Then go to your terminal and run the script:
./run_camera_benchmark.shThis script will automatically start the latest NVIDIA Isaac Sim and initialize a simulation.
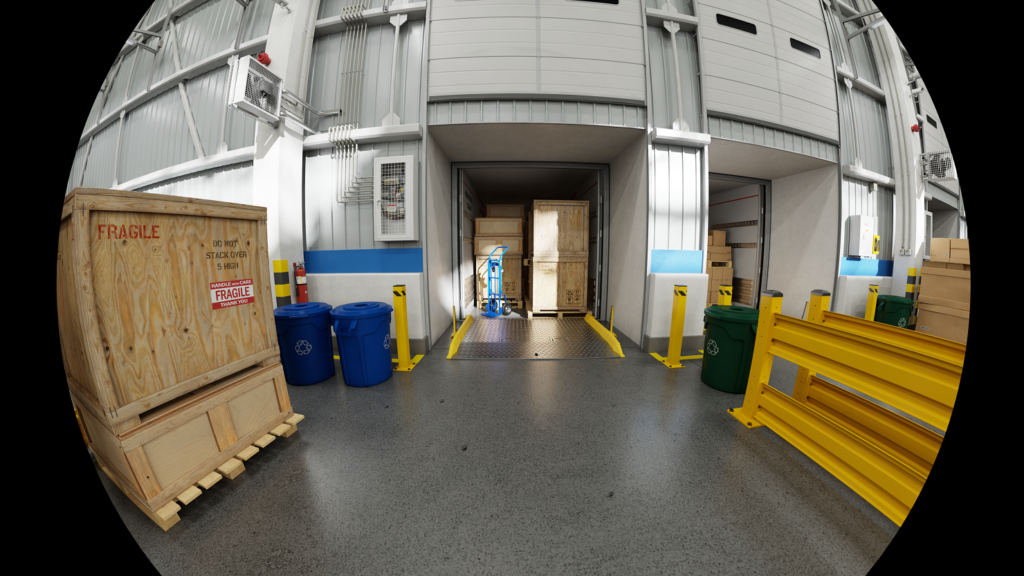
In this simulation, three cameras move in a clockwise direction around three different locations within a small virtual warehouse. At the same time, the script displays the current frame rate and the average ROS 2 frequency output on the terminal.
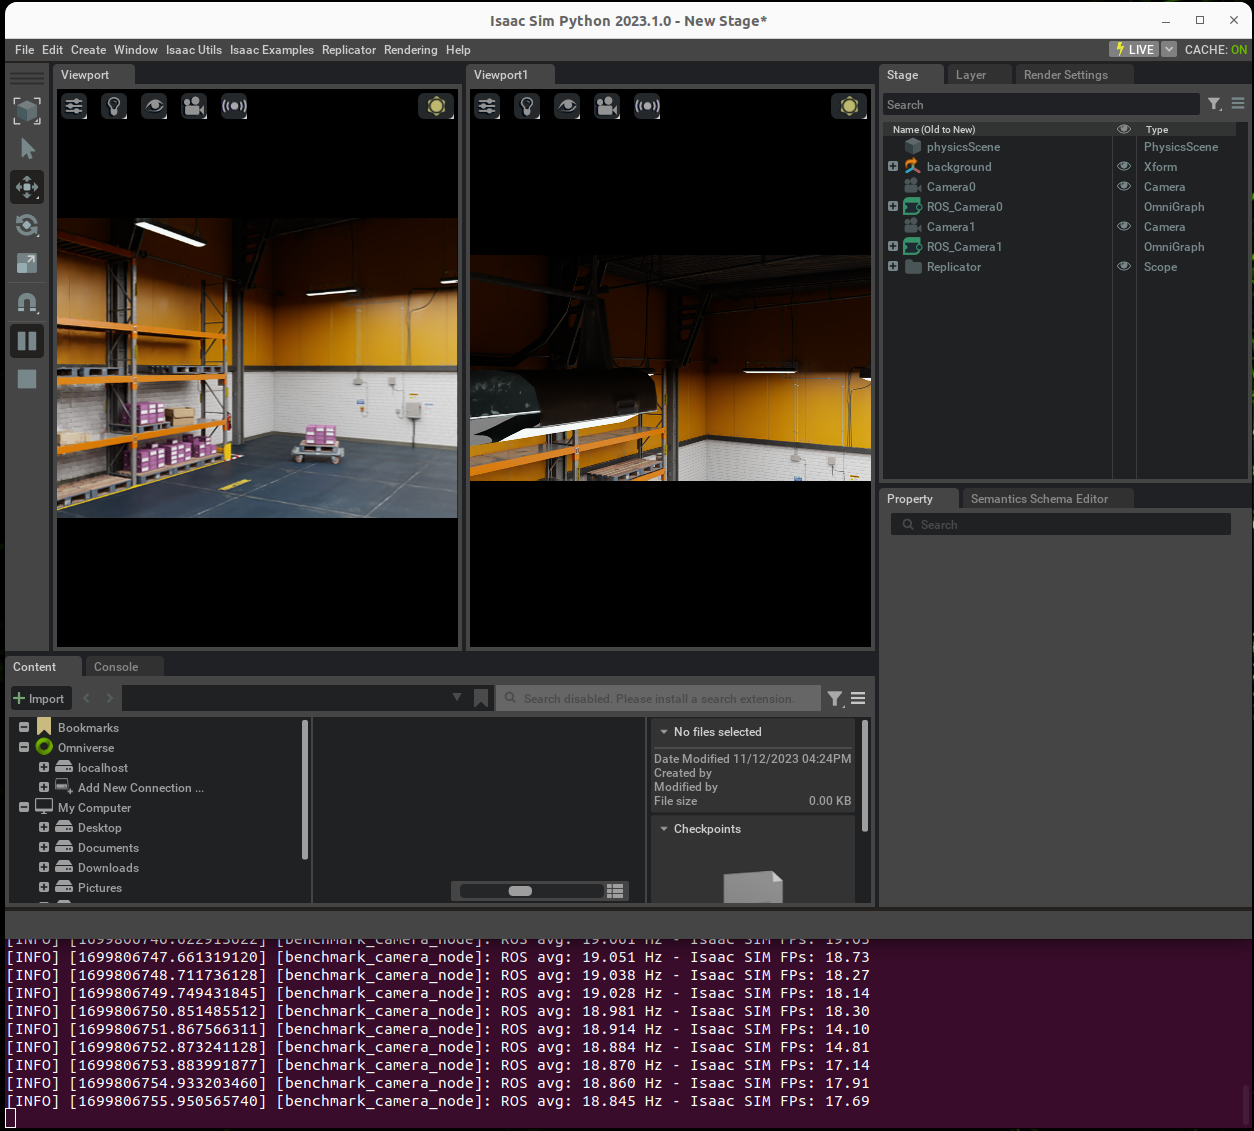
Figure 3. An example of camera outputs on a terminal
The FPS output may vary depending on your workstation configuration and may differ from your hardware setup.
To store the ROS2 output coming from this benchmark, run:
./ros2record.sh
Figure 4. A script recording of the output from all configured cameras
All ros2bag files are available in the folder isaac_camera_benchmark/rosbag.
The next chapter explains the script’s inner workings and how to change its configuration to test multiple cameras or use a different resolution.
Change the default configuration
There are three main files, and you can design your configuration by writing a configuration file.
The first script is run_camera_benchmark.sh, which loads the latest version of Isaac Sim, passes a script of all the configurations, and runs this demo.
The main script of this repository is camera_benchmark.py script, which runs Isaac Sim with only the ROS2_bridge extension, and by default, it loads the warehouse_with_forklifts.usd environment that contains a small virtual warehouse with two forklifts. The simulation will run in ray-tracing lighting.
When the environment is loaded, add every camera configured in a file called config.json or load three cameras at 640×480 resolution.
This script automatically adds a camera object in the environment and also builds a graph that reads the output coming from Isaac Sim, fixes a resolution, and publishes on ROS 2 output.
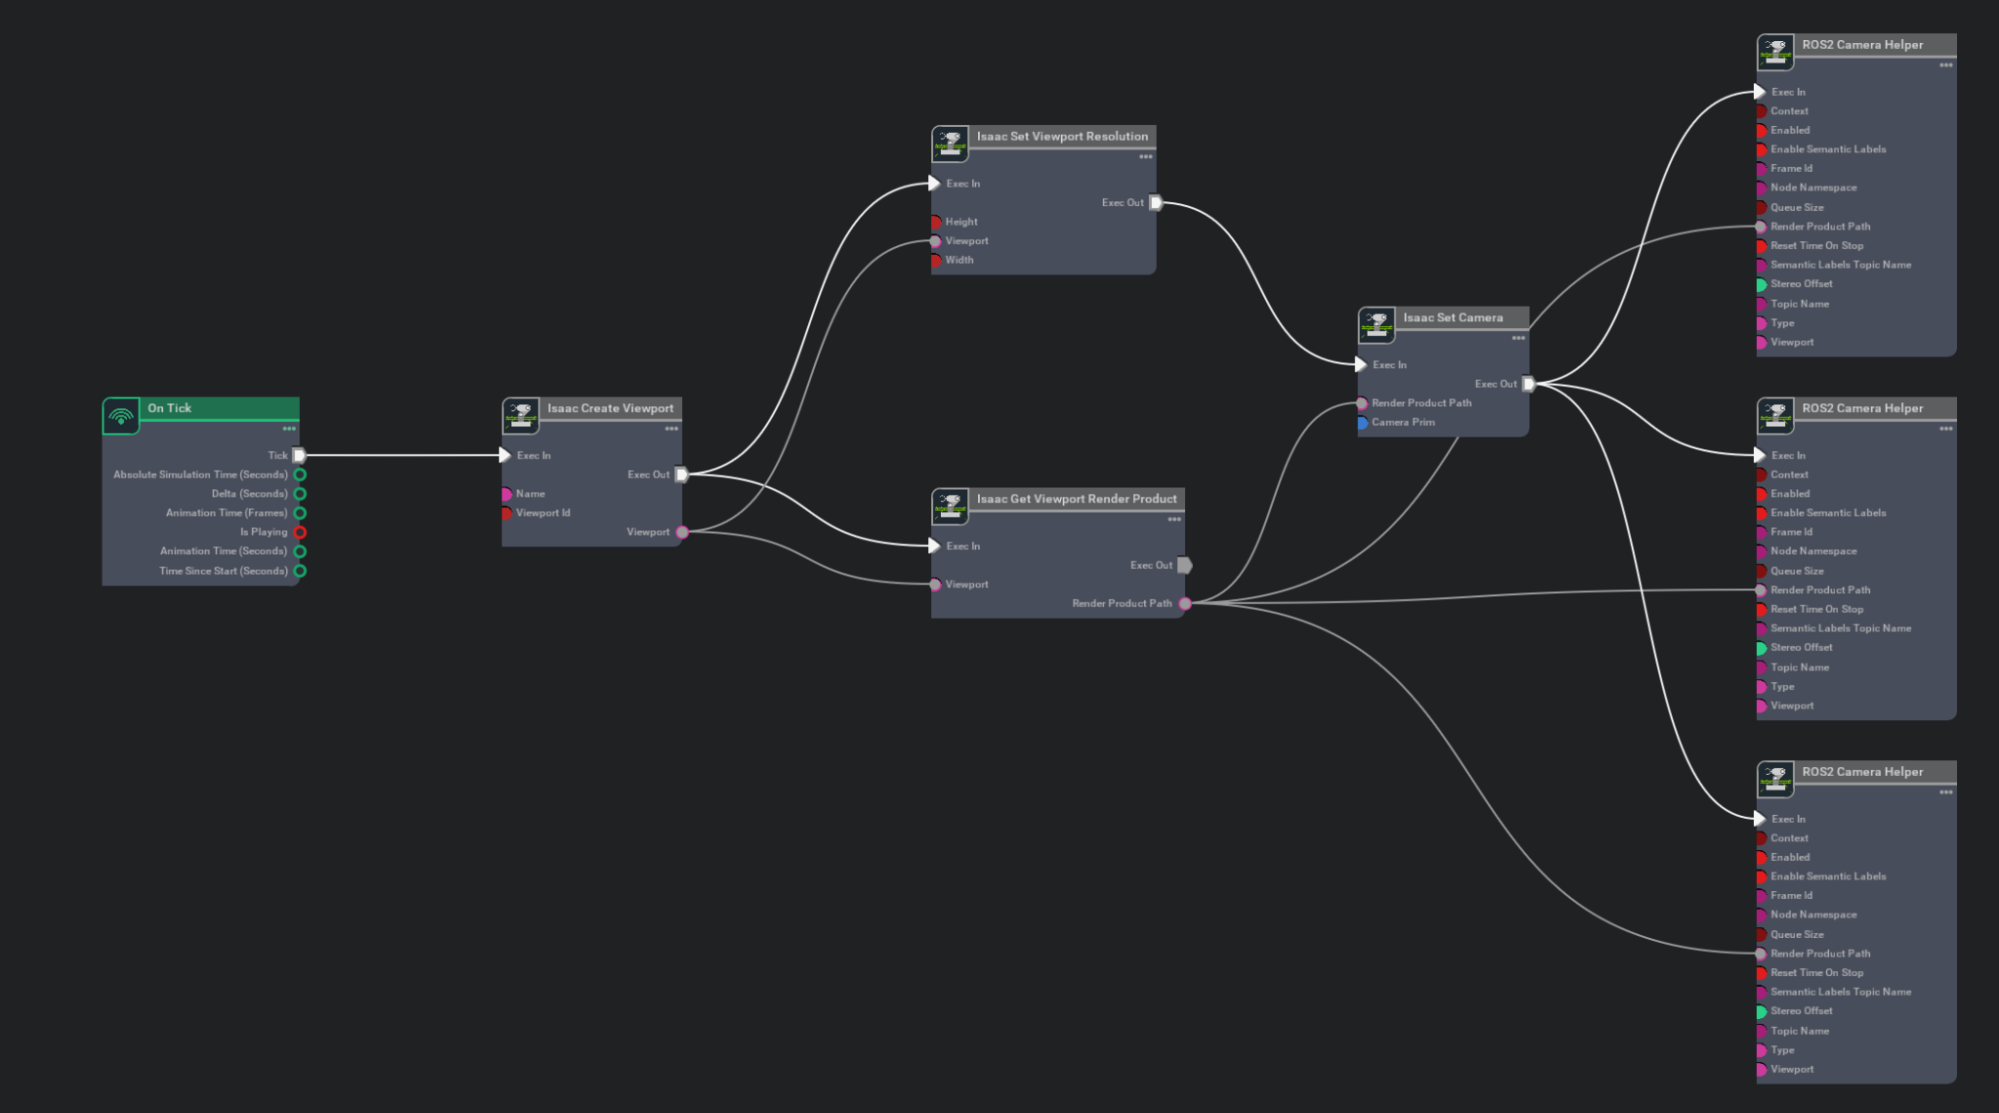
Figure 5. A generated graph from camera_benchmar.py
At the same time, the camera_benchmar.py loads a ROS 2 node called benchmark_camera_node that is connected from a ROS 2 camera output and measures the topic frequency average.
This script also reads from Isaac Sim the camera fps and publishes the output on the terminal.
To change the default configuration, you can simply create a new JSON file called config.json. This file must contain the configuration of the cameras. There are different options that you can set:
- Translate: Where the camera should be located in the environment, this variable must be a vector with three coordinates like [0.0 0.0 0.0].
- Resolution: Camera output resolution is an integer vector with a camera resolution such as 640 × 480. Suggested resolutions include:
- 640 × 480
- 1024 × 768
- 1920 × 1080 (FHD)
- 2560 × 1440 (2K)
- 3840 × 2160 (4K)
The following is an example of a new config.json.
{
   "camera": [
       {"translate": [0.0, 0.0, 3.0], "resolution": [640,480]}
       {"translate": [-1.0, 0.0, 6.0], "resolution": [1024,768]}
   ]
}
This output generates a new benchmark like the following image.
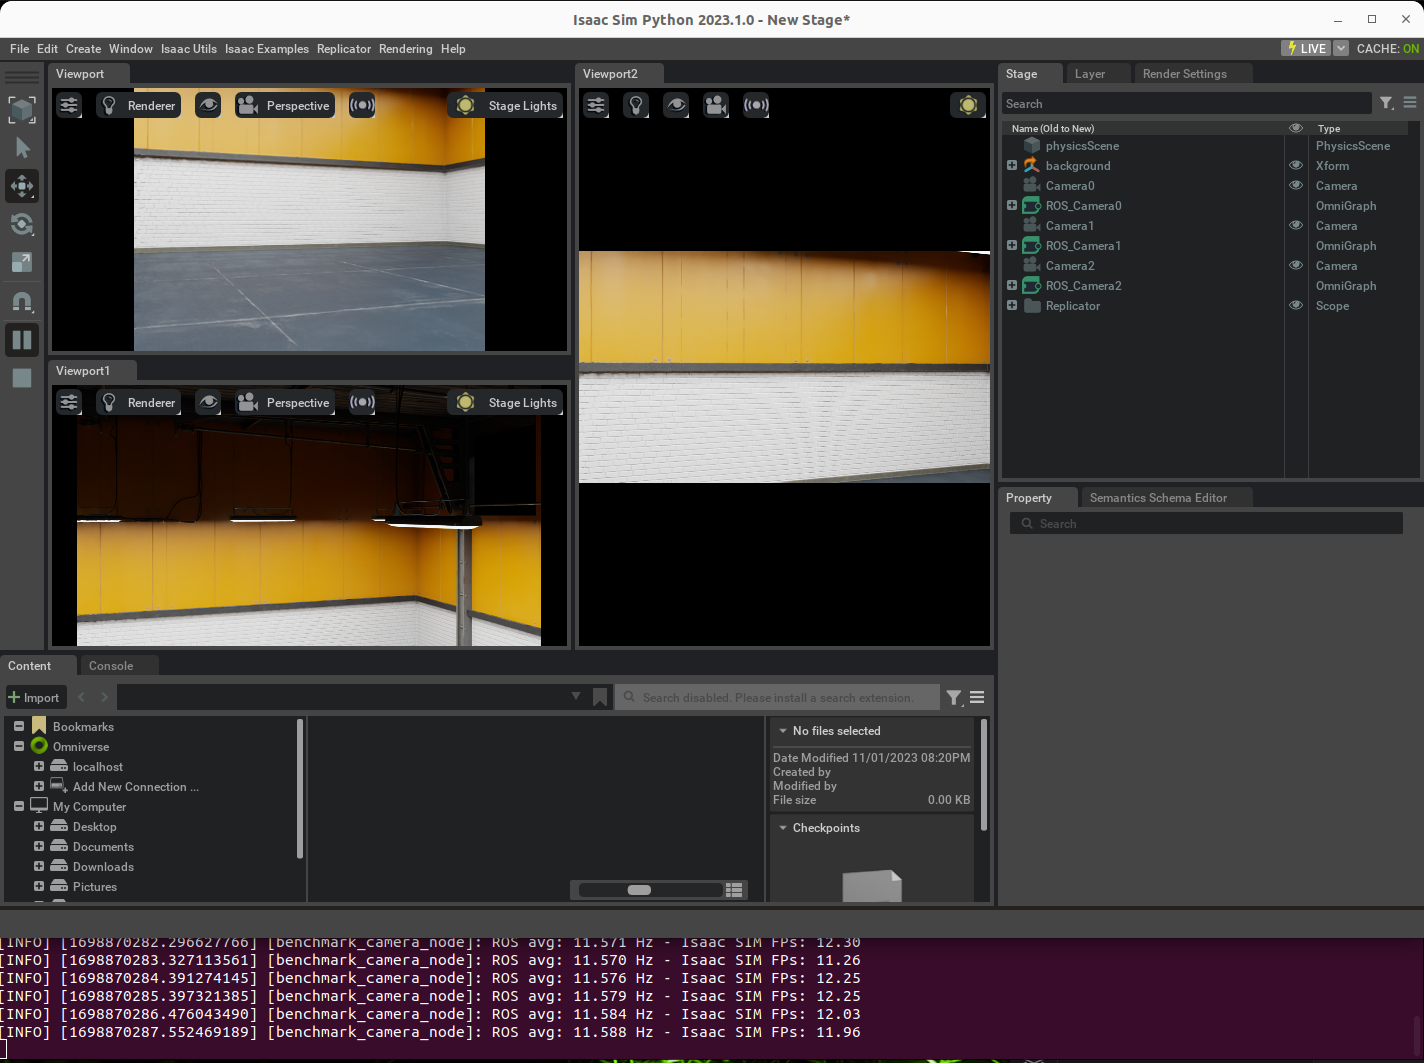
Figure 6. Example output cameras and on terminal FPs ros topic and Isaac Sim fps
You can add a configuration to the config.json file to specify the type of simulation you want to start on Isaac Sim.
- renderer: Pick the type of render. The default is RayTracedLighting
- headless: To run Isaac Sim without a user interface, you can change this boolean variable with True
See the following for another example of the configuration file.
{
   "simulation": {"renderer": "RayTracedLighting", "headless": true},
   "camera": [
       {"translate": [0.0, 0.0, 3.0], "resolution": [640,480]},
       {"translate": [-1.0, 0.0, 6.0], "resolution": [1024,768]}
   ]
}
Conclusion
This script enables you to monitor the camera output and the performance of a ROS topic on your workstation. It also provides an example of how to create a new Isaac Sim script with ROS 2.
Be sure to join our NVIDIA Isaac office hours every Wednesday on YouTube.
Raffaello Bonghi
Developer Relations Manager for AI and Robotics, NVIDIA